Yae Miko Stellar-Conduct Build Guide for Genshin Impact 6.7
This Yae Miko build for Genshin Impact Version 6.7 unleashes devastating Stellar-Conduct damage with top weapons, artifacts, and constellations.
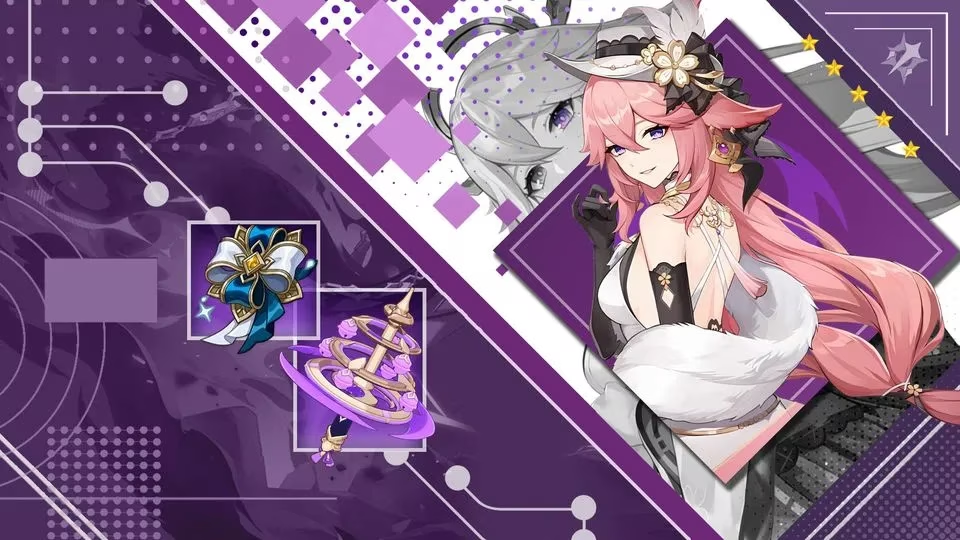
Okay, let’s talk about Yae Miko in Genshin Impact Version 6.7. I’ll be real with you: when her rework dropped, I did not expect her to become one of the strongest Stellar-Conduct triggers in the game. But here we are. Her Sesshou Sakura turrets do a ton of the heavy lifting, and with the right setup she can absolutely shred high-level content. If you’re building her now in 2026, this is what I recommend.
Why Yae Miko Excels in Stellar-Conduct Teams
The new Stellar-Conduct reaction is the star of Version 6.7. Odette and Sandrone can convert Superconduct into Stellar-Conduct, but you need constant Electro application to make the reaction go off consistently. That’s where Yae Miko comes in. Her Elemental Skill, Sesshou Sakura, keeps applying off-field Electro without demanding a ton of field time. She is the engine, not the whole car, and that gives your team a lot of flexibility.
Her rework also buffs how her Skill damage interacts with Stellar-Conduct multipliers. That means the more you build around Elemental Mastery and Crit, the harder those reaction hits land.
Best Weapons for Yae Miko
| Weapon | Rarity | Why It Works |
|---|---|---|
| Kagura's Verity | 5-star signature | Buffed for 6.7, stacking Skill DMG bonus and Stellar-Conduct multiplier, high Crit DMG |
| Echoes of the Heart | F2P | Massive Elemental Mastery boost and reaction damage amp, closes the gap with Kagura's Verity |
Kagura's Verity is still her undisputed best-in-slot. The stacking Skill DMG bonus works beautifully with her Sesshou Sakura turrets, and the Stellar-Conduct multiplier makes those reaction hits hit like a truck.
If you’re free-to-play, don’t stress. Echoes of the Heart is genuinely good. The Elemental Mastery and reaction damage amp let Yae Miko work as a Stellar-Conduct driver without needing a five-star weapon. Honestly, this is one of the more comfortable F2P states I’ve seen for a rerun character.
Artifact Setup
Use the 4-piece Disenchantment in Deep Shadow set. It’s basically tailor-made for her new role. The 4-piece bonus boosts Stellar-Conduct damage directly and gives you extra Crit Rate, which makes gearing her a lot smoother.
| Slot | Main Stat |
|---|---|
| Sands | Elemental Mastery |
| Goblet | Elemental Mastery |
| Circlet | Crit Rate or Crit DMG |
Substat priority:
-
Crit Rate
-
Crit DMG
-
Elemental Mastery
Do not sleep on Elemental Mastery here. I know it can feel weird to skip an Electro DMG Goblet, but Stellar-Conduct scales hard with EM, so this is the one time you want to double down on it. If you are struggling with Burst uptime, a little Energy Recharge in substats can help, but don’t chase it over the main priorities.
Constellations
| Constellation | Priority | Why |
|---|---|---|
| C1 | High | Improves consistency and makes her Skill uptime smoother |
| C2 | High | Significant damage increase for Stellar-Conduct teams |
| C6 | Massive spike | Huge damage ceiling, but it is a wallet-check, plain and simple |
| C4 | Situational | Useful as a stepping stone, but not a milestone |
For most players, C1 and C2 are the realistic stopping points. If you’re going all-in and your primo stash can handle it, C6 is absurd, but it is a luxury, not a requirement.
Best Teams
Premium Stellar-Conduct Team
-
Yae Miko: off-field Electro trigger
-
Odette: Stellar-Conduct converter
-
Sandrone: main driver and enabler
-
Qiqi: healing and Cryo support
This is one of the strongest comps in the current meta. Odette and Sandrone convert Superconduct into Stellar-Conduct while Yae Miko’s Sesshou Sakura provides constant off-field Electro. Qiqi keeps you alive and adds Cryo. All four characters have passives that boost Stellar-Conduct DMG, so the whole team is pushing the same direction.
F2P Friendly Team
-
Yae Miko: trigger
-
Cryo Traveler: Stellar-Conduct converter
-
Alyosha: off-field Electro and healing
-
Diona: shielding, healing, Cryo application
This version is less flashy, but it can absolutely slap. The key is keeping Cryo and Electro applications consistent so Yae Miko triggers Stellar-Conduct as often as possible. Diona’s shield also makes rotations way more forgiving, which is a huge QoL win.
Rotation Guide
Here’s the rotation I use:
-
Apply Cryo first with Qiqi, Diona, or Cryo Traveler.
-
Use Yae Miko’s Elemental Skill three times to set up her turrets.
-
Swap to your main driver, usually Sandrone in the premium team or Alyosha in the F2P version.
-
Trigger Stellar-Conduct while her turrets keep applying Electro.
-
Use Yae Miko’s Burst when it is ready, then refresh her Skill charges.
The important part is not to leave gaps. Yae Miko wants her turrets on the field before the Cryo and converter characters start the reaction chain.
FAQ
Is Yae Miko worth pulling for Stellar-Conduct teams?
Yes, especially if you already have or plan to pull Odette or Sandrone. Her off-field Electro application is unmatched for triggering Stellar-Conduct.
Can I use Yae Miko without the Disenchantment set?
You can use 2-piece Thundering Fury + 2-piece ATK% as a temporary substitute, but the 4-piece Disenchantment set is a significant damage increase. Try to farm it when you can.
What is the best rotation for Yae Miko in a Stellar-Conduct team?
Apply Cryo first, use Yae Miko’s Elemental Skill three times, swap to the main driver, and trigger Stellar-Conduct. Use her Burst when available.
Final Verdict
Yae Miko’s 6.7 rework makes her a top-tier pick for Stellar-Conduct teams. With Kagura’s Verity and the Disenchantment set, she deals serious reaction damage. If you are F2P, Echoes of the Heart and the Cryo Traveler, Alyosha, Diona team give you a real path without breaking the bank. Prioritize C1 and C2 if you plan to invest in constellations, and focus on Elemental Mastery to make those Stellar-Conduct procs hit as hard as possible.