My Wild Ride Through Genshin's Furnace of Fiery Embers 3 Puzzle
Beat Genshin Impact's Furnace of Fiery Embers 3 with this concise Natlan puzzle walkthrough, from Tepetlisaur Whelps to the Precious chest.
I'll be honest, folks — when I first heard about the Furnace of Fiery Embers 3 in Genshin Impact, I thought it would be a piece of cake. Spoiler alert: it wasn't. Even in 2026, this hidden puzzle in Natlan's Ochkanatlan region remains a real doozy, and I'm here to walk you through my own chaotic journey so you can avoid the headaches I ran into.
So there I was, teleporting to the Ochkanatlan Waypoint northwest of Natlan — the furthest western one, mind you, because half the Waypoints share the same name and I learned that the hard way. Once I arrived, I looked behind me and saw a bunch of Tepetlisaur Whelps trapped by monsters. "Not on my watch," I said, and saved them. Next thing I know, some of the little guys dig into a nearby wall, revealing a hidden location. Talk about a lucky break!
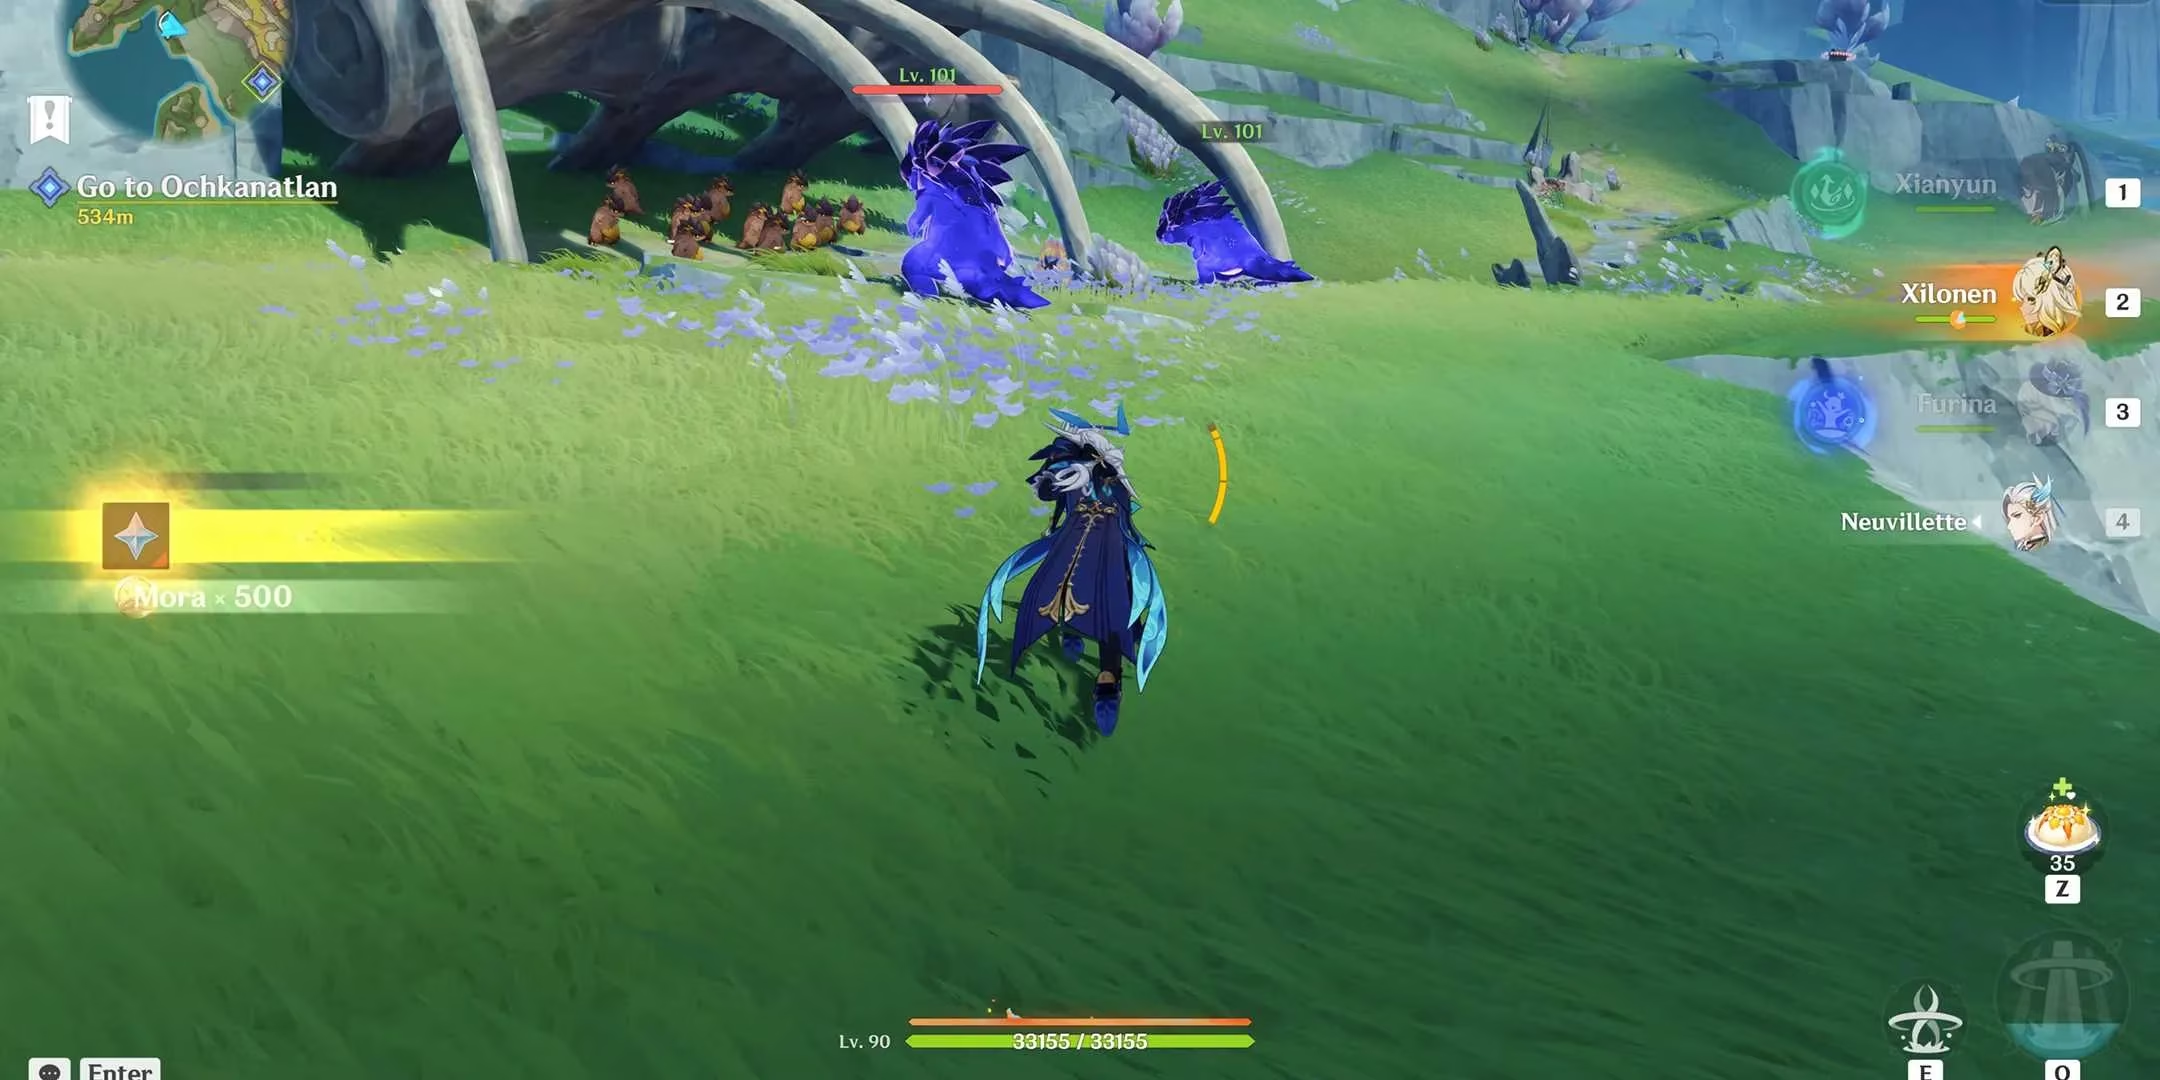
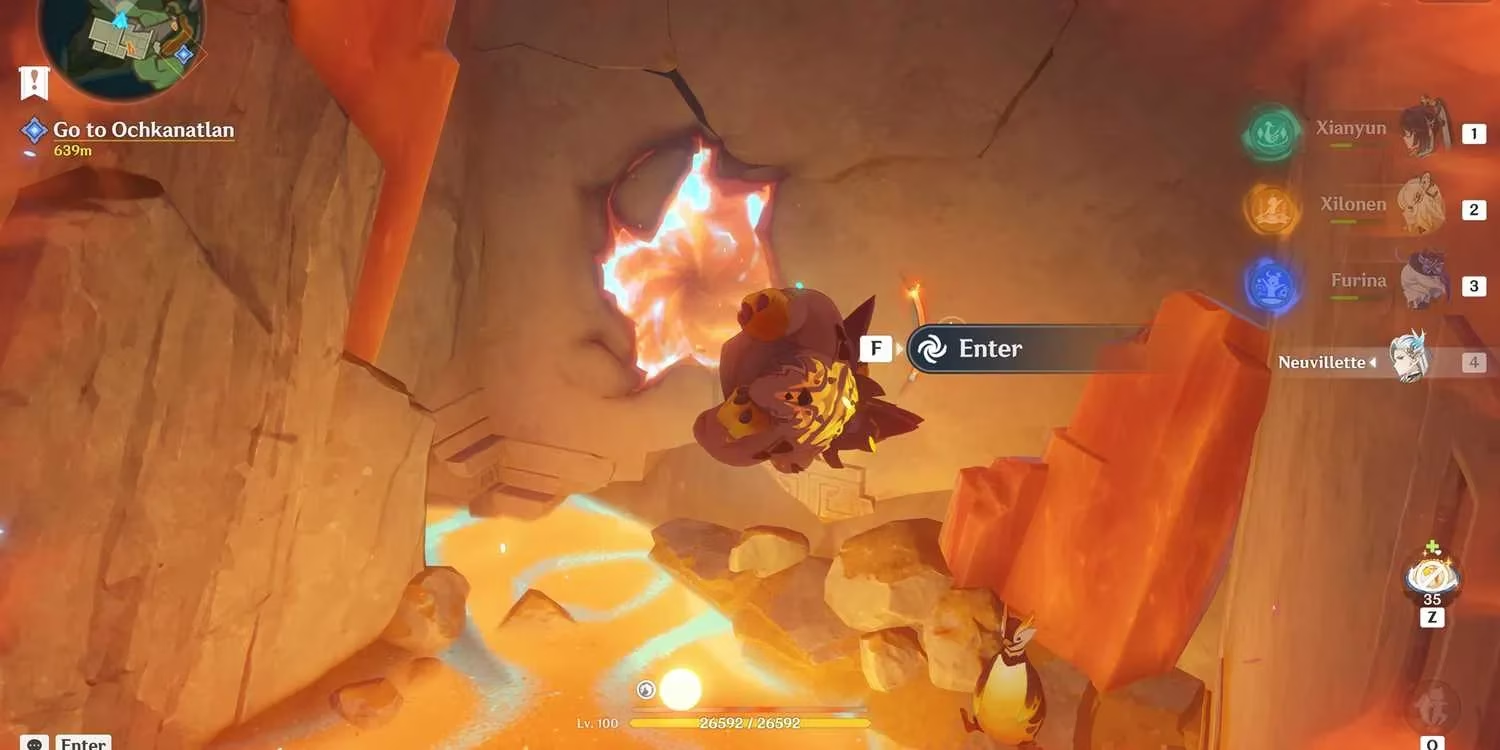
I went to that spot and found a hole leading into an underground cave. Down the rabbit hole I went. Inside, I found a Sealed Flame cube on the left side of the lava. I attacked it, and bam — three more Sealed cubes appeared. "Okay, this is a pattern," I thought, and whacked them all. That unlocked my way into the Furnace of Fiery Embers (III).
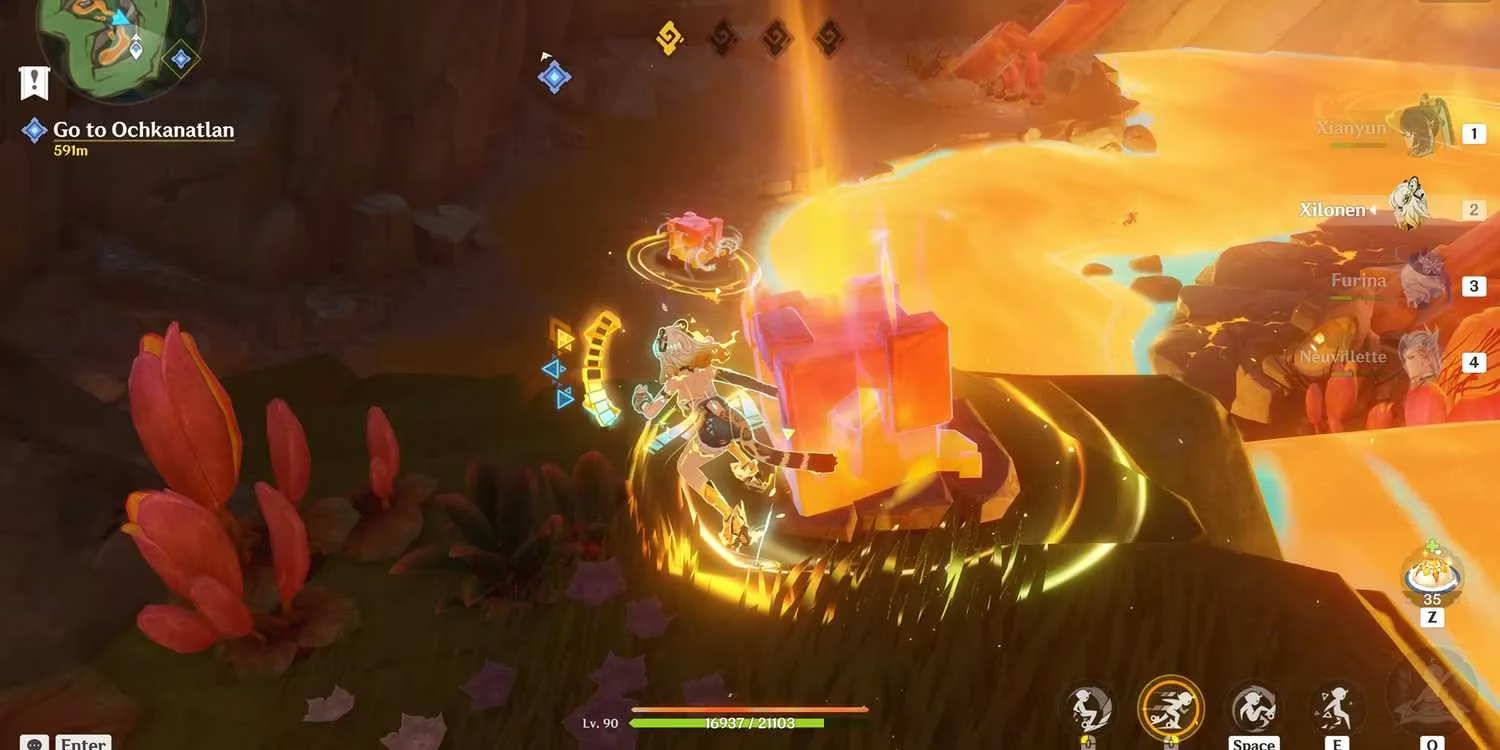
Inside, the first Iridescent Inscription was guarded by a Ruin Grader. I'm not gonna lie, that thing hit like a truck, but I took it down and approached the inscription. I interacted with it, and it ascended to the second floor. To follow it, I had to transform into a Tepetlisaur. I touched it again, and this time it went through a lift chamber and ascended to another floor. But when I used the lift, it took me down instead. Classic Genshin trolling, right?
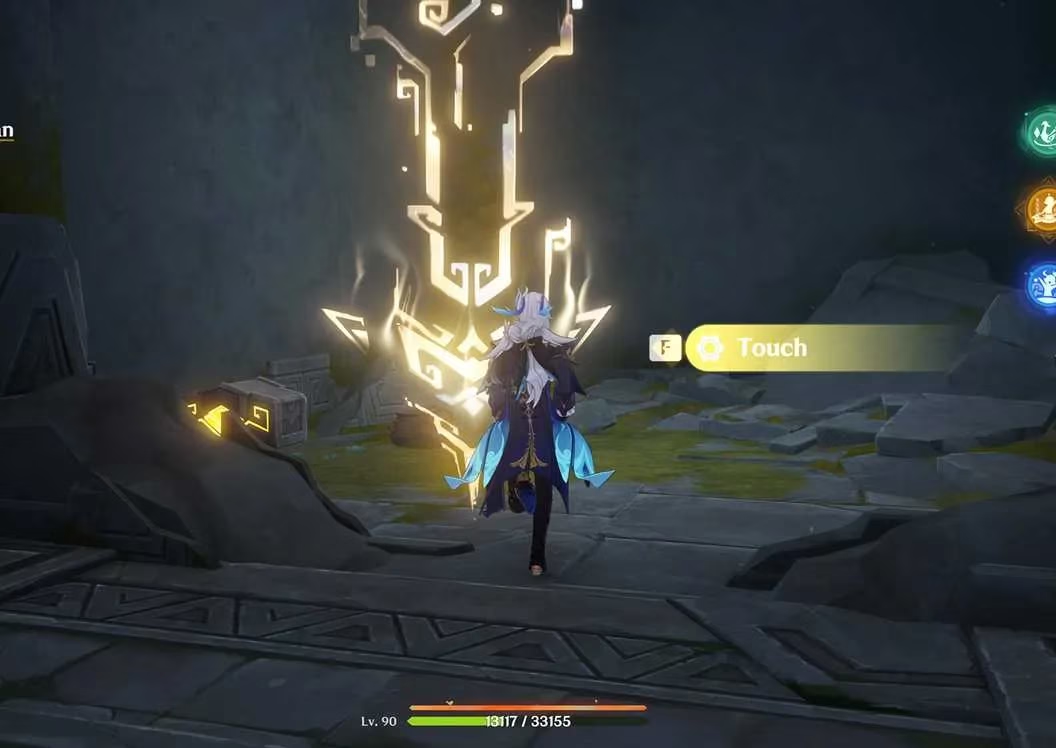
Reaching the bottom floor, I found the second Iridescent Inscription. I interacted with it, and it also ascended. Now here's the kicker: instead of following it through the lift, I used the Tepetlisaur again and chased it manually by going to the second floor. Then I took the lift from the second floor to reach the third floor, where both inscriptions were waiting. And just like that, I completed the Furnace of Fiery Embers 3 puzzle.
The reward? A Precious chest, plus progress toward the Embers Rekindled achievement and eventually the Flute of Ezpitzal sword if you solve all five furnaces. Not too shabby, eh?
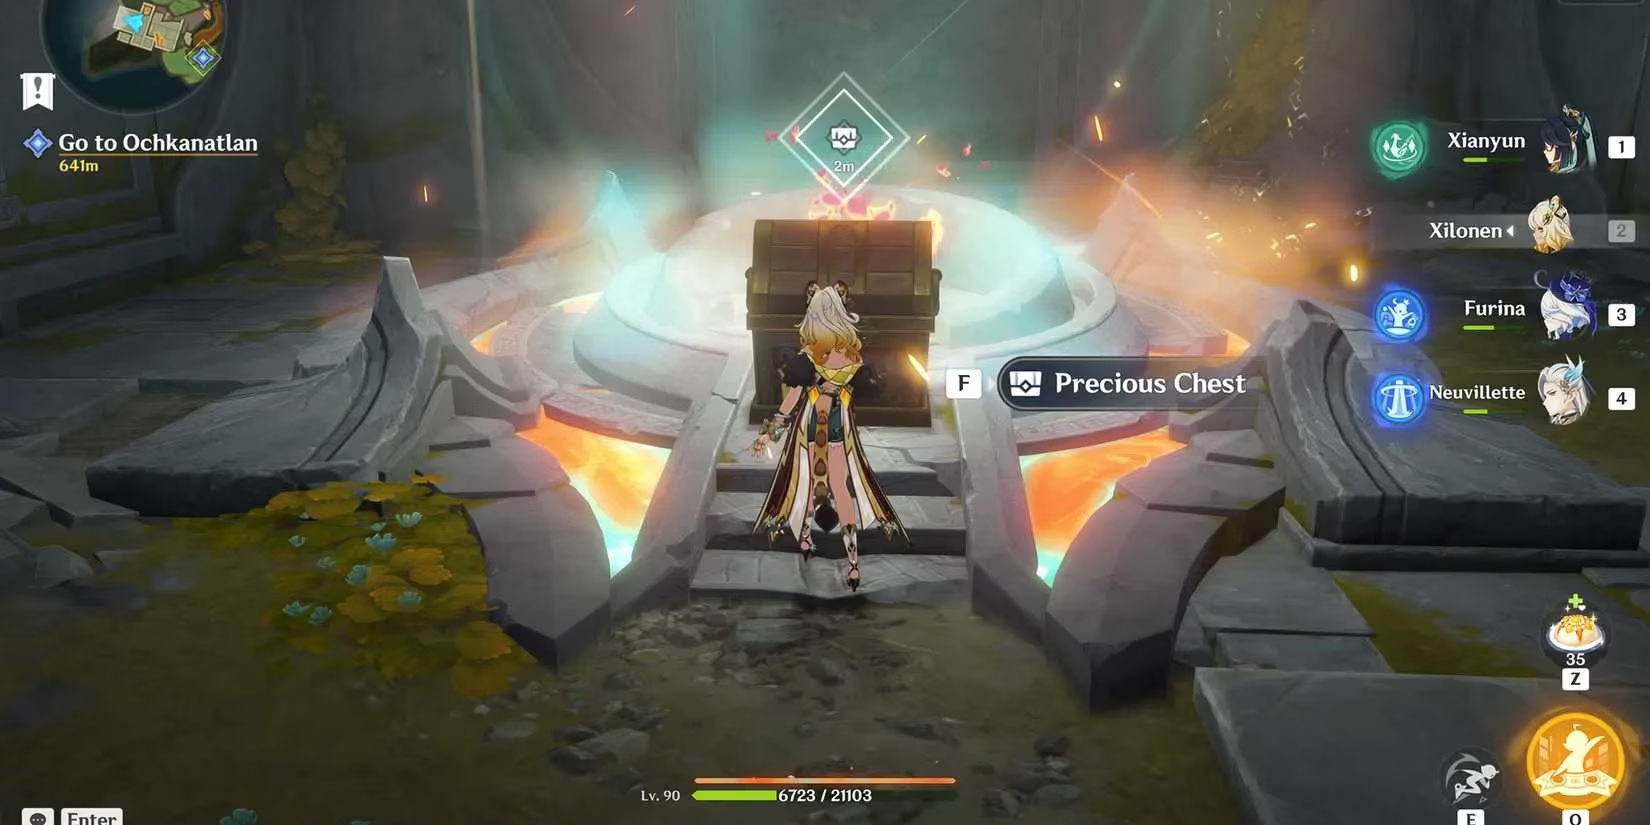
Here's a quick recap of the steps so you don't get lost:
-
🗺️ Teleport to the furthest western Ochkanatlan Waypoint and look behind you.
-
🦎 Save the Tepetlisaur Whelps from monsters; they'll dig open a hidden wall.
-
🕳️ Enter the hole, follow the cave, and smash the Sealed Flame cubes.
-
⚔️ Defeat the Ruin Grader and interact with the first Iridescent Inscription.
-
🔄 Transform into a Tepetlisaur, touch the inscription again, and let it ride the lift.
-
⬇️ Take the lift down, find the second inscription, and interact with it.
-
🏃 Chase the second inscription manually to the second floor (don't use the lift).
-
🛗 Use the lift from the second to the third floor, where both inscriptions unite.
-
🎁 Claim your Precious chest and bask in the glory!
Pro tip: bring a character who can break shields quickly for the Ruin Grader, and don't forget your Tepetlisaur transformation. Also, the lift can be a real pain — just remember to chase the inscription manually the second time. I wish I had known that before I spent ten minutes riding the lift up and down like a yo-yo.
So there you have it — my wild ride through Furnace of Fiery Embers 3. It's not a walk in the park, but with a little patience and this guide, you'll crack it in no time. Happy puzzling, Travelers!